hardie plank cladding installation guide
Hardie Plank Cladding is a durable and versatile fibre cement product‚ offering fire resistance and low maintenance‚ ideal for various architectural styles and exterior applications.
1.1. What is Hardie Plank Cladding?
Hardie Plank Cladding is a fibre cement product made from a combination of cellulose fibres and cement. It is a durable‚ lightweight‚ and versatile cladding material suitable for both internal and external applications. Known for its fire resistance and ability to withstand harsh weather conditions‚ it is widely used in residential and commercial construction. The planks are engineered to mimic the appearance of natural wood while offering superior longevity and minimal maintenance requirements.
1;2. Benefits of Using Hardie Plank Cladding
Hardie Plank Cladding offers exceptional durability‚ fire resistance‚ and weather resilience‚ making it a top choice for exterior and interior applications. Its fibre cement composition ensures resistance to warping‚ rotting‚ and pests. It is lightweight and easy to install‚ providing a sleek‚ modern aesthetic. The cladding is low maintenance and can withstand harsh climatic conditions‚ making it ideal for long-term use. Additionally‚ it mimics the appearance of natural wood without the associated maintenance challenges‚ offering both functionality and visual appeal for various architectural designs.
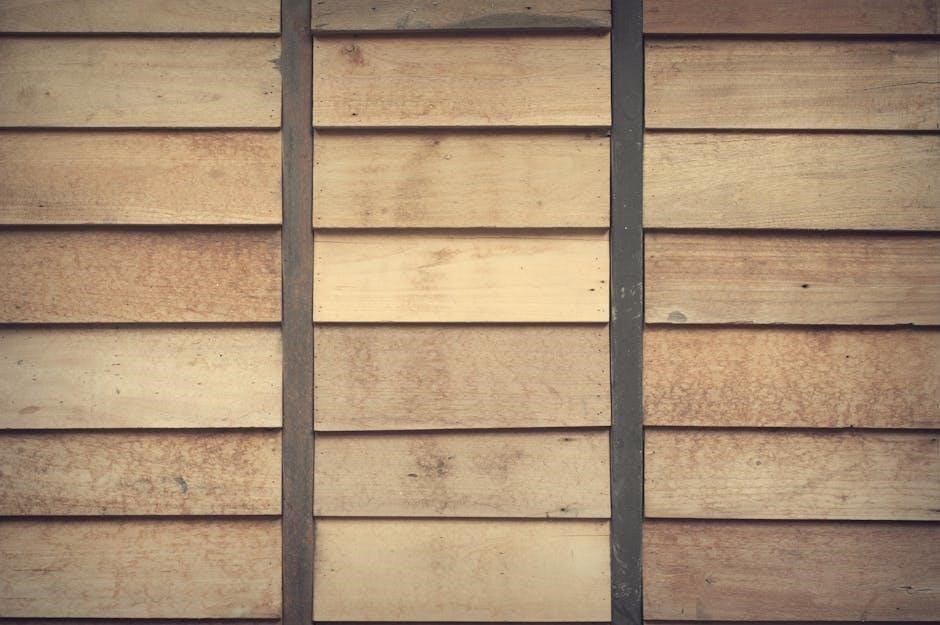
1.3. Suitable Applications for Hardie Plank Cladding
Hardie Plank Cladding is ideal for both external and internal walls‚ offering a versatile solution for residential and commercial buildings. It is suitable for new constructions and renovations‚ providing a durable and attractive exterior façade. The cladding can be used to create modern‚ sleek designs or mimic traditional wood aesthetics. It is also perfect for load-bearing walls when installed with appropriate structural support‚ ensuring both functionality and style. Its adaptability makes it a popular choice for various architectural projects‚ including homes‚ offices‚ and retail spaces;
Preparation for Installation
Ensure the surface is structurally sound and clear of debris. Check for any necessary repairs or framing adjustments. Gather all tools and materials beforehand for efficiency.
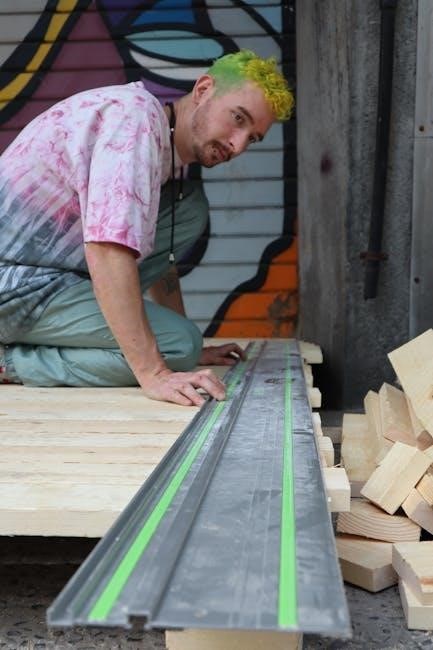
2.1. Tools and Materials Required
To install Hardie Plank Cladding‚ you’ll need a circular saw or handheld saw for cutting‚ a drill for pre-drilling holes‚ and a hammer or nail gun for securing planks. Essential materials include galvanized or stainless steel fasteners‚ weatherproof barrier membranes‚ and flashings for sealing edges. Safety gear like dust masks‚ gloves‚ and protective eyewear is crucial. Ensure all tools and materials meet manufacturer specifications for optimal installation results and durability of the cladding system.
2.2. Safety Precautions and Protective Gear
When installing Hardie Plank Cladding‚ prioritize safety by wearing protective gear. Use a dust mask to avoid inhaling fibre cement particles during cutting. Protective eyewear is essential to prevent debris from harming your eyes. Gloves protect hands from cuts and abrasions‚ while steel-toe boots safeguard feet from heavy tools or materials. Ensure proper ventilation in the work area and avoid loose clothing that could get caught in tools. Always maintain a clean‚ clutter-free workspace to minimize tripping hazards and ensure safe installation.
2.3. Checking and Preparing the Surface
Before installing Hardie Plank Cladding‚ ensure the surface is structurally sound‚ clean‚ and dry. Inspect for any existing damage‚ mold‚ or rot‚ and address these issues first; Remove old siding or materials that could interfere with installation. Check that the wall is square and level‚ making adjustments as needed. Ensure all surfaces are clear of debris‚ dust‚ and grease to promote proper adhesion. For masonry or metal frames‚ verify that fixings are suitable for the substrate. Proper preparation ensures a secure and even installation of the cladding.

Planning and Layout
Measure wall areas‚ calculate plank quantities‚ and mark installation patterns to ensure accurate and efficient Hardie Plank Cladding installation‚ aligning with design and structural requirements.
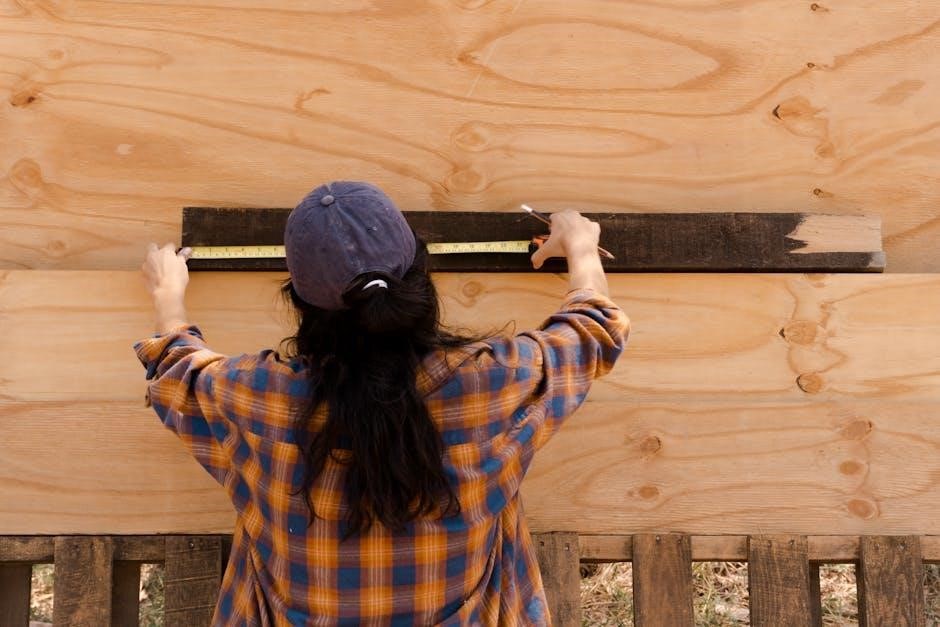
3.1. Measuring the Wall Area
Accurately measure the wall area to determine the number of Hardie Plank Cladding pieces required. Calculate the total square footage‚ accounting for windows‚ doors‚ and any obstructions. Measure vertically and horizontally to ensure precise fitment. Use a tape measure to record dimensions‚ then calculate the total area. This step ensures efficient material use and minimizes waste. Proper measurement is crucial for a seamless installation process and achieving the desired aesthetic and structural integrity.

3.2. Determining the Number of Planks Needed
Calculate the number of Hardie Plank Cladding pieces by dividing the total wall area by the standard plank size‚ typically 3.6 meters long and 230mm wide. Measure the wall height and width‚ subtracting areas for windows and doors. Add 10-15% to account for waste and cuts. Ensure planks align with studs or framing for secure installation. Proper calculation prevents material shortages and ensures a smooth workflow during installation‚ maximizing efficiency and minimizing delays. Always double-check measurements for accuracy before ordering materials.
3.3. Marking the Wall for Installation
Use a level and chalk line to mark straight lines for plank alignment‚ ensuring they are evenly spaced and aligned with studs or framing. Start by marking the bottom course‚ using a level to establish a plumb line. Transfer measurements for plank lengths‚ typically 3.6 meters‚ to the wall surface. Mark stud locations to guide fastening. Allow space for flashings and trims around windows and doors. Double-check all marks for accuracy to ensure proper fit and alignment during installation‚ avoiding costly corrections later.
Installing Hardie Plank Cladding
Begin with the first course‚ aligning planks with studs or framing. Secure planks using appropriate fasteners‚ ensuring weather-tightness. Avoid caulking butt joints to prevent water entrapment.
4.1. Starting with the First Course
Begin by ensuring the surface is clean and dry. Align the first course of Hardie Plank Cladding with the studs or framing‚ starting from the bottom. Use a level to ensure it is straight and plumb. Secure the plank with recommended fasteners‚ spacing them evenly. Apply a bead of weather-resistant adhesive to the back of the plank before installation. Double-check the alignment and fit to ensure proper adhesion and avoid future issues. This foundational step sets the tone for the rest of the installation.
4.2. Installing Subsequent Courses
After securing the first course‚ align the next plank with the studs or framing‚ ensuring proper spacing and alignment. Use a level to maintain plumb and straight lines. Fasten each plank with recommended fasteners‚ spacing them evenly as per the manufacturer’s guidelines. Ensure joints between planks are staggered to avoid alignment issues. For even spacing‚ use shims or spacers if necessary. Start each new course from the same side to maintain uniformity. Use a rubber mallet to gently tap planks into place‚ ensuring a snug fit. Always refer to the installation guide for specific fastening patterns and spacing requirements to ensure structural integrity and a professional finish.
4.3. Securing Planks to Studs or Framing
Secure each plank to studs or framing using galvanized or stainless steel fasteners‚ ensuring they penetrate at least 1 inch into the framing material. Fasteners should be spaced 12-16 inches apart‚ with one near the top and bottom of each plank. Use a level to ensure planks are straight and properly aligned with the wall. Avoid over-tightening‚ as this can cause cracking or warping. For added stability‚ let-in bracing may be required‚ especially in areas without sheathing. Always follow manufacturer guidelines for fastener type and spacing to ensure a secure and durable installation.
4.4. Handling Joints and Butt Joints
When handling joints and butt joints‚ ensure proper alignment and spacing to maintain structural integrity. Avoid caulking butt joints to allow water to drain freely‚ preventing moisture buildup. Use a 1/8-inch gap between planks and secure them with fasteners. Flashing should be installed at joints to direct water away from the wall. Align joints with studs to avoid obstructions like electrical outlets or windows. For a seamless appearance‚ stagger joints between courses and use sealants only where necessary‚ such as at the top course or around window openings. Proper joint handling ensures long-term durability and weather resistance.

Sealing and Finishing
Sealing gaps and joints ensures weather-tightness‚ while flashings and trims provide additional protection. Painting and finishing touches enhance durability and aesthetics‚ completing the installation process effectively.
5;1. Sealing Gaps and Joints
Proper sealing of gaps and joints is crucial to ensure weather-tightness and prevent water infiltration. Avoid caulking butt joints to allow water to escape‚ reducing the risk of damage. Use high-quality‚ weather-resistant sealants around edges‚ corners‚ and intersections. Inspect all gaps before sealing to ensure they are clean and free of debris. Sealants should be applied according to manufacturer instructions to maintain durability and performance. Regular maintenance of sealed areas ensures long-term protection against the elements.
5.2. Installing Flashings and Trims
Flashings and trims are essential for protecting edges and joints from water damage. Install flashings around windows‚ doors‚ and rooflines to direct water away from the cladding. Trims should be used at corners‚ joints‚ and transitions to ensure a seamless finish. Secure flashings and trims tightly to the substrate‚ ensuring they align perfectly with the Hardie Plank cladding. Proper installation prevents water infiltration and enhances the overall durability and appearance of the cladding system. Follow manufacturer guidelines for cutting and fitting these components.
5.3. Painting and Finishing Touches
After installing Hardie Plank cladding‚ apply a high-quality exterior paint to achieve a durable and attractive finish. Ensure all surfaces are clean‚ dry‚ and free from dust. Prime any raw edges or cuts before painting. Use a brush‚ roller‚ or spray for even coverage‚ applying two coats for optimal results. Allow the first coat to dry completely before applying the second. Proper painting enhances the appearance and longevity of the cladding. Always follow manufacturer recommendations for paint selection and application guidelines.
Maintenance and Care
Regularly clean Hardie Plank cladding with mild detergent to remove dirt. Inspect for damage or wear and perform timely repairs. Avoid harsh chemicals and power washing.
6.1. Cleaning Hardie Plank Cladding
Regular cleaning is essential to maintain the appearance and longevity of Hardie Plank cladding. Use a mild detergent mixed with water and a soft-bristled brush or cloth to gently scrub the surface. Avoid using high-pressure washers or harsh chemicals‚ as they can damage the material. For tougher stains‚ allow the solution to sit briefly before rinsing thoroughly with clean water. Regular maintenance prevents dirt buildup and ensures the cladding remains durable and visually appealing.
6.2. Inspecting for Damage or Wear
Regularly inspect Hardie Plank cladding for cracks‚ holes‚ or warping. Check joints and flashings for signs of leaks or damage. Look for discoloration‚ rot‚ or pest infestation‚ especially near seams or edges. Inspect annually or after extreme weather conditions. Ensure all fasteners are secure and no gaps exist between planks. Address any damage promptly to prevent water infiltration or structural issues. Documentation of findings helps track maintenance and ensure longevity of the cladding.
6.3. Repairs and Replacements
For damaged or worn Hardie Plank cladding‚ assess the extent of the issue. Replace entire planks if cracks or holes are significant. Clean and reseal smaller gaps using appropriate sealants. Ensure edges align properly and resecure loose planks. Paint repaired areas to match the original finish. Address water damage promptly to prevent further deterioration; Regular repairs maintain the cladding’s structural integrity and aesthetic appeal. Always follow manufacturer guidelines for replacement and repair materials to ensure warranty compliance and long-term durability.
Troubleshooting Common Issues
Troubleshooting Hardie Plank cladding involves addressing water leaks‚ misaligned planks‚ and cracks. Inspect gaps‚ ensure proper flashing‚ and align planks securely. Seal cracks promptly to prevent further damage.
7.1. Addressing Water Damage or Leaks
Inspect gaps and joints for water infiltration. Ensure flashings and trims are correctly installed to direct water away. Avoid caulking butt joints‚ as this can trap moisture. Check for loose planks and resecure them. If water damage is found‚ remove affected planks and repair underlying structures before reinstalling. Proper sealing of gaps without restricting water drainage is essential to prevent further issues.
7.2. Fixing Misaligned or Loose Planks

Check misaligned planks by ensuring they are level and properly aligned with adjacent courses. For loose planks‚ inspect the fasteners and studs for secure attachment. Remove the plank if necessary‚ and verify stud placement or repair any damaged framing. Reinstall the plank with correct spacing and fastening techniques. Ensure all planks are tightly secured but not over-tightened‚ as this can cause warping. If misalignment persists‚ consult a professional installer to avoid further complications.
7.3. Dealing with Cracks or Holes
Inspect cracks or holes in Hardie Plank cladding to assess their severity. For minor damage‚ use a fibre cement patch or sealant to fill the area. Larger cracks or holes may require replacing the entire plank. Remove the damaged plank‚ check the studs for integrity‚ and install a new one following proper installation guidelines. Ensure all repairs are sealed to maintain weather resistance. Regular inspections can help prevent further damage and ensure the cladding remains durable and visually appealing.
Hardie Plank cladding is a durable‚ fire-resistant choice for exterior and interior applications‚ offering a stylish and resilient solution for modern and classic designs alike.
8.1. Summary of Key Installation Steps
Successful Hardie Plank cladding installation involves starting with the first course‚ securing planks to studs or framing‚ and properly handling joints and butt joints. Ensure gaps and joints are sealed‚ and flashings and trims are correctly installed. Finish by painting and applying final touches. Use appropriate tools and materials‚ and consider let-in bracing for structural support if installing without sheathing. Avoid caulking butt joints to allow water drainage. Always adhere to manufacturer guidelines for a durable and warranty-compliant installation.
8.2. Final Tips for a Successful Installation
Plan meticulously‚ ensuring all measurements and layouts are accurate before starting. Use let-in bracing for structural support if installing without sheathing. Avoid caulking butt joints to allow proper water drainage. Always follow manufacturer guidelines for flashing and trimming to prevent water damage. Protect the cladding during installation to avoid scratches or damage. Regular maintenance‚ such as cleaning and inspecting for wear‚ will extend the lifespan of your Hardie Plank cladding. Adhere to safety precautions and use appropriate tools to ensure a professional finish.